For the latter part of the millennium, Victoria’s Secret hair has been big, sexy, tousled, and about as unattainable as Gigi Hadid's abs. Even if you're the biggest Angel fangirl (no judgments), watching the Victoria's Secret Fashion Show has always felt a little like a masterclass in things we'll never have; aside from the lingerie, but also, let's not kid ourselves. This year, though, things went a little differently. Hairstylist Sarah Potempa created the look using her genius invention, The Beachwaver, and our chances of being able to achieve that bouncy blowout went from slim-to-none to an actual possibility.
I know, I know, it sounds like ravings of a used car-dealer: Beach waves in 10 minutes—really! But no joke, I've never been able to curl my own hair until I tried this rotating curling iron. It's so easy, I even saw models (Bella Hadid included) doing sections of their own hair backstage.
Want in? We teamed up with Potempa to bring you a step-by-step tutorial of exactly how to get the voluminous, beachy waves seen on the runway.
What You'll Need:
-A nylon boar bristle paddle brush
-A Beachwaver (either the 1" or the 1.25" depending on your hair length; the Swarovski one pictured in the middle above is what they actually used at the show. Yeah, it's a cool $6,000.)
-Hair pomade
-Sectioning clips
-Texturizing hair spray
How to Choose a Barrel Size
Really, this depends on two things. 1) The length of your hair and 2) The look you're going for. "The 1.25" gives you more of a tousled look, which is perfect for someone whose hair holds a tight curl," says Potempa. "The goal is for the curls to look loose and beautiful. So if your hair tends to fall, then you'll want to go with the S1." The S1 also works better for women with shorter hair because the barrel is shorter than Pro.
The How-To
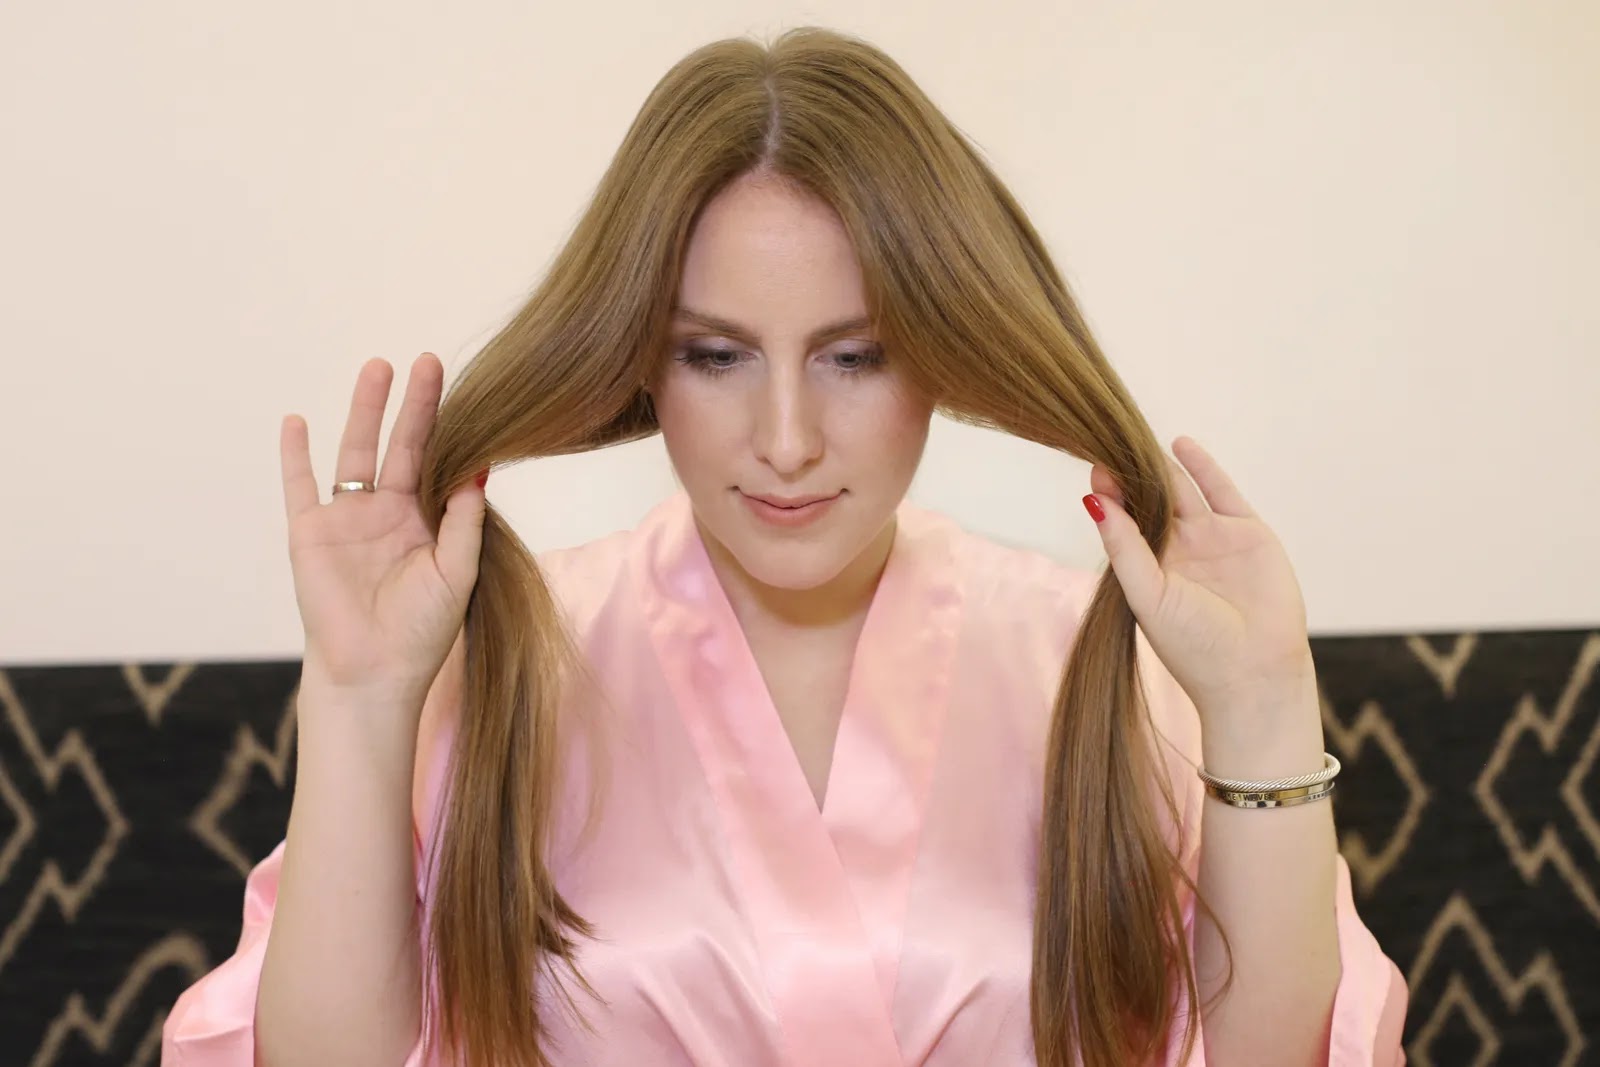
1. Split Hair in Two Sections and Section Off
Split your hair in the back and then bring it all forward so you have two sections in the front. Think of them as "the left" and "the right." Then, starting on whichever side feels most comfortable, section your hair horizontally so you have a section on top and one on bottom. Twist the top, then clip it up with the Darby clip.
2. Clamp Hair
After sectioning your hair, hold the iron vertical with the clamp facing in (or toward the mirror, if it's easier to think of it that way). Clamp your hair down near the ends, leaving about 2" sticking out at the end if you have long hair or 1" out if you have shorter to medium-length hair. This what gives your hair that lived-in, natural bend instead of super-bouncy curls.
3. Select the Wave Direction
Think of those "L" and "R" keys as your easy buttons. All you have to do? Hit "L" if you're curling the left side of your hair, "R" if you're curling the right. Literally, that's it. Curling each side the same direction will give you that beachy finish with a lot of volume.
4. Curl the Bottom Section
It's go time! Once you've selected the direction you want, hit the "Go" button. This will make the iron begin to rotate and curl your hair. Then, take your finger off the "Go" button once it's about a third down from your hairline and hold for three to four seconds. Open the clamp, then slide the iron straight down.
Now, listen up, because this part's important: "It can actually manipulate the curl if you slide the wand out wrong," says Potempa. Think about it: You're creating a pattern down the rod as your wrapping your hair around it. "None of your hair is overlapping [when it wraps around], it's like a hot roller," she says. "When hair makes a physical change, from wet to dry or hot to cold, it sets and then holds. In this case, it's a hot to cold physical change. So if you turn the iron and pull it out sideways or horizontally, it'll set your curl the wrong way."
Let each curl cool while you repeat the same steps around the bottom layer of your head, moving in 1" sections as you go. (Anything too big won't hold the curl well.)
5. Repeat on the Top Layer
Once you've done the bottom section, unclip your top layer from the darby clip and repeat the steps from above.
"When you use the darby clips to section your hair, it actually saves you time in the end," says Potempa, noting how crucial it is not to skip this step. "So many people want to just curl and curl and curl their hair, but it ends up taking longer because you're not being organized. So, if you move row by row, it becomes repetitive like a system—you'll be able to curl faster and have it hold longer. It's more efficient."
6. Let Hair Cool Down
If your hair looks like it's in tighter ringlets at this point, that's a good thing! Resist the urge to rake your hands through them. It's important that you allow your waves to set and cool. After about five or so minutes, you can touch them, but this hands-off period will ensure your waves will last longer throughout the day.
8. Separate the Curls
Now comes the time to shake those ringlets out. First, run your fingers through them gently. "It shouldn't feel too polished or perfect," says Potempa. "You just want to separate the curls and give them a lived-in look."
Then, once that's done, you'll want to spritz some flexible hold hairspray like L'Oreal Elnett or Ouai Texturizing Hairspray from root to mid-shaft. Pro tip: Spray hairspray on your styling brush, then gently use the ends of the bristles to rake through your hair. "It's not a full brush," says Potempa. "You only want the edge of the bristles to go through. Super light, just so it helps separate the curls. It's all about separation and sexiness."
9. Finish the Look
To really give your hair that piece-y finishing touch, rub a pomade on your palms to warm up the product, then gently rake it through the ends of your hair. "It adds to that little bit of separation and helps tame flyaways," says Potempa.
Now you just need to hire someone to walk in front of you with a fan, and you're ready to get on with your sexy self. (Not that you weren't before.)
Psstt... don't forget to pin this for later!


Post a Comment